So I recently decided to build my own PC and decided on the Coolermaster HAF 912 Advanced edition as the price was rather affordable and aesthetically wise, I found it rather pleasing (NOT everyone likes the HAF looks). Furthermore, the side window is a must for me to gawk at the hardware which wiped out one month of my pay!
 |
| HAF 912 Advanced Edition |
Despite the nice basic design, it felt a little boring and the fact that this is quite a common case around compelled me to think of ways to spice up the looks of the case and make it stand out.
As with my first time building a PC, it will also be my first time "modding" the case. (I'm not exactly modding the case but just painting and add sheets of plastic)
Regarding the design, I'm going with a Starcraft 2 Terran theme as that is the race I play. (Starcraft 2 is practically the only game I play as well)
Hence, to kick off the long and arduous process of painting the case, I started with disassembling whatever I could with a screwdriver.
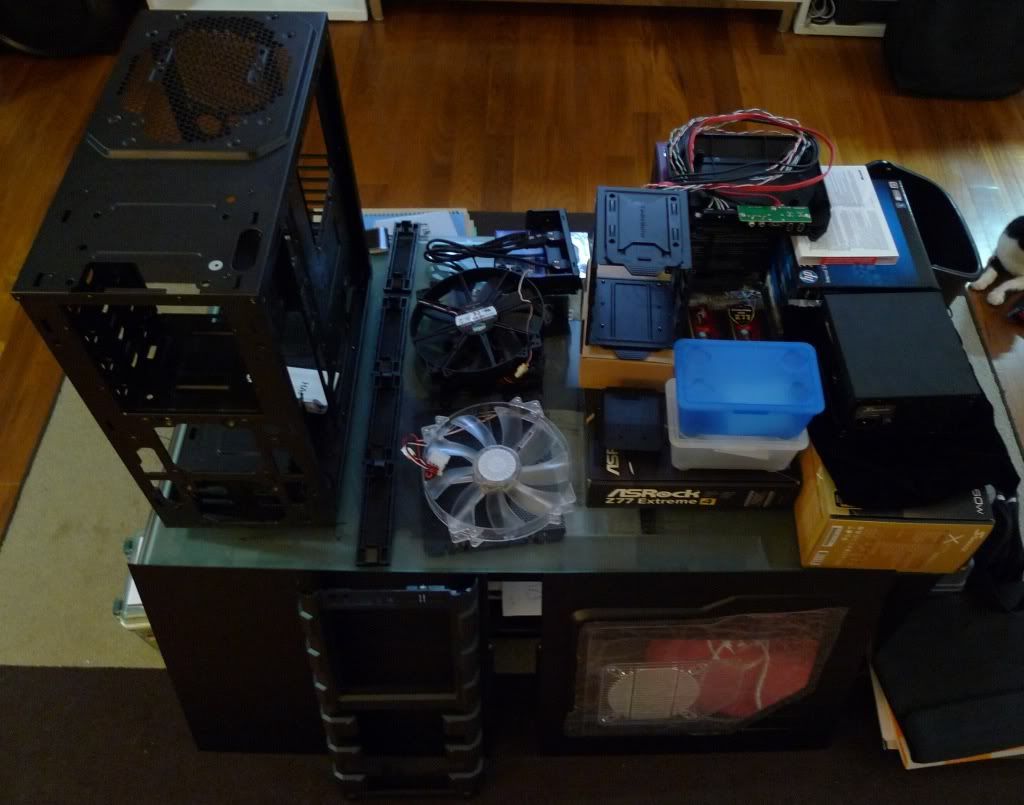 | |||
| Removing all the parts that I can with a screwdriver |
Parts that I removed with a screwdriver (in chronological order)
- Left panel
- Right panel
- 5.25" drive bay cover (mine came with the USB 3.0 slot attached. You need to unscrew two screws at the side and use a little force to pull it out) (Drive bay cover has no screws)
- Front panel
- Front fan
- Top fan
- Back fan
- 2.5" HDD bay
- 3.5" HDD bay
- Top panel (the part that houses the power, reset buttons and the USB slots. The top panel has no screws. Just clips like the front panel)
To disassemble the case further to remove the top panel or back panel and the 5.25" drive dock, would require me to remove the rivets holding them in place. Unlike the screws, removing the rivets requires more work and assembly would be troublesome as well.
In the next post, I will remove the rivets to isolate the parts of the case that I want to paint.
No comments:
Post a Comment