By default, the 912 advance comes with the insides painted black.
Less talk and more pictures!
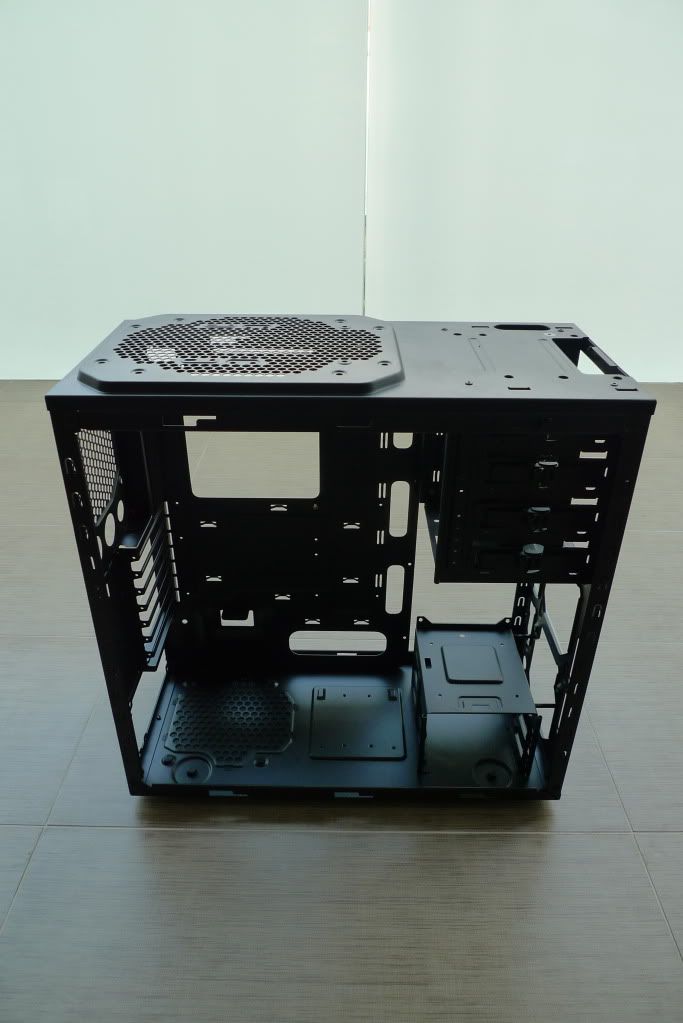 |
| Start state. The case with most screws removed. |
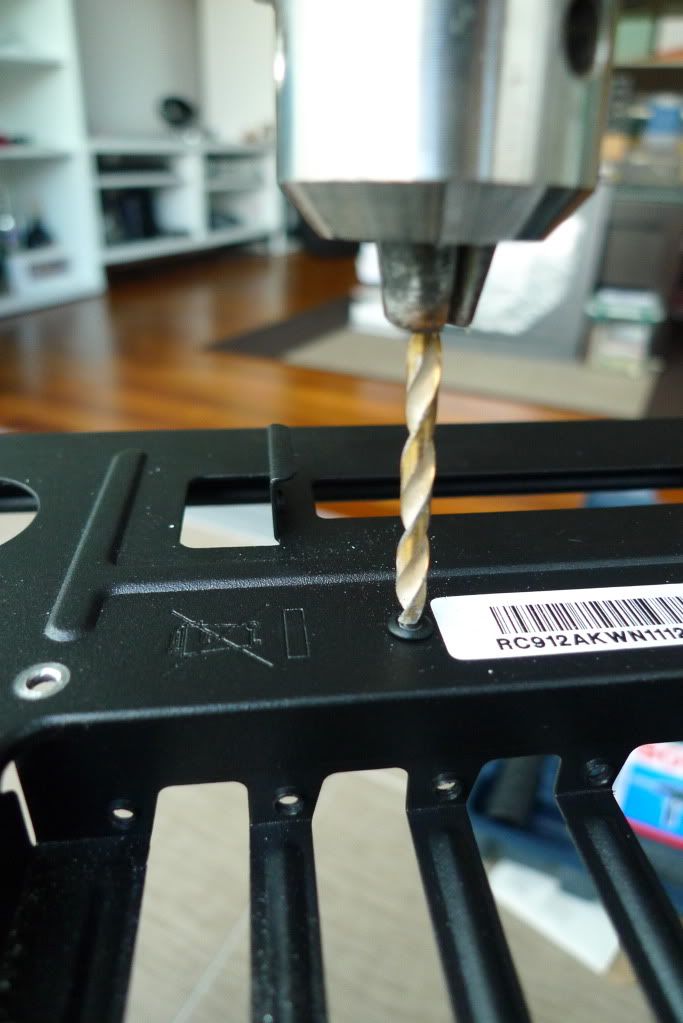 |
| Drilling the rivet |
Removing the rivet is pretty straight forward. I use a 3mm drill bit and just drill into the rivet. After drilling for a while, your drill bit should fall through the hole and the rivet would have dropped out.
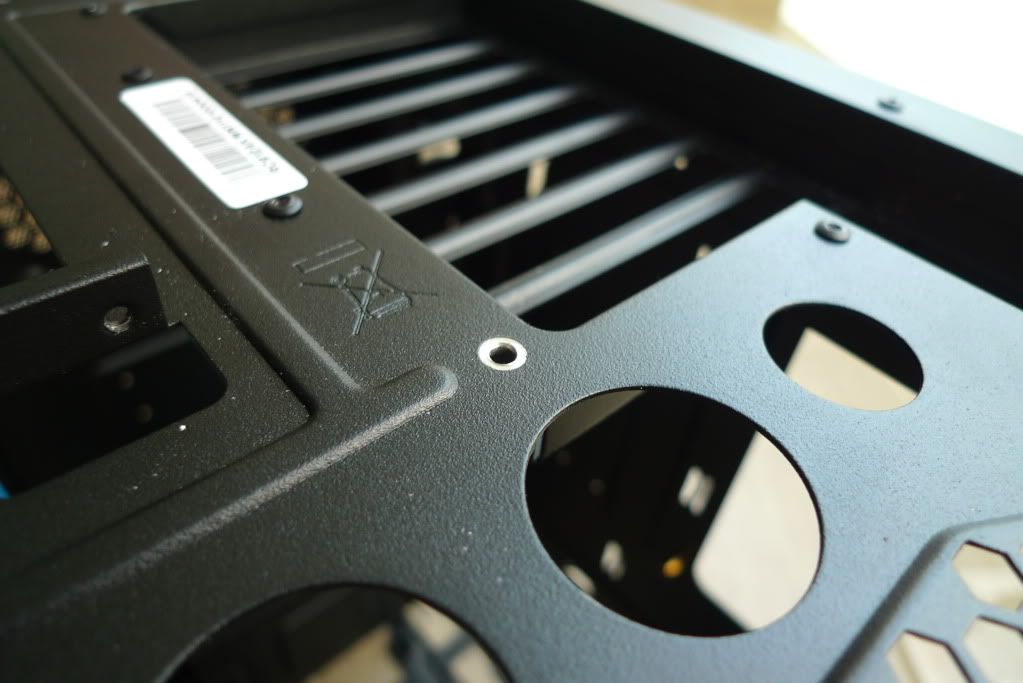 |
| After removing the rivet |
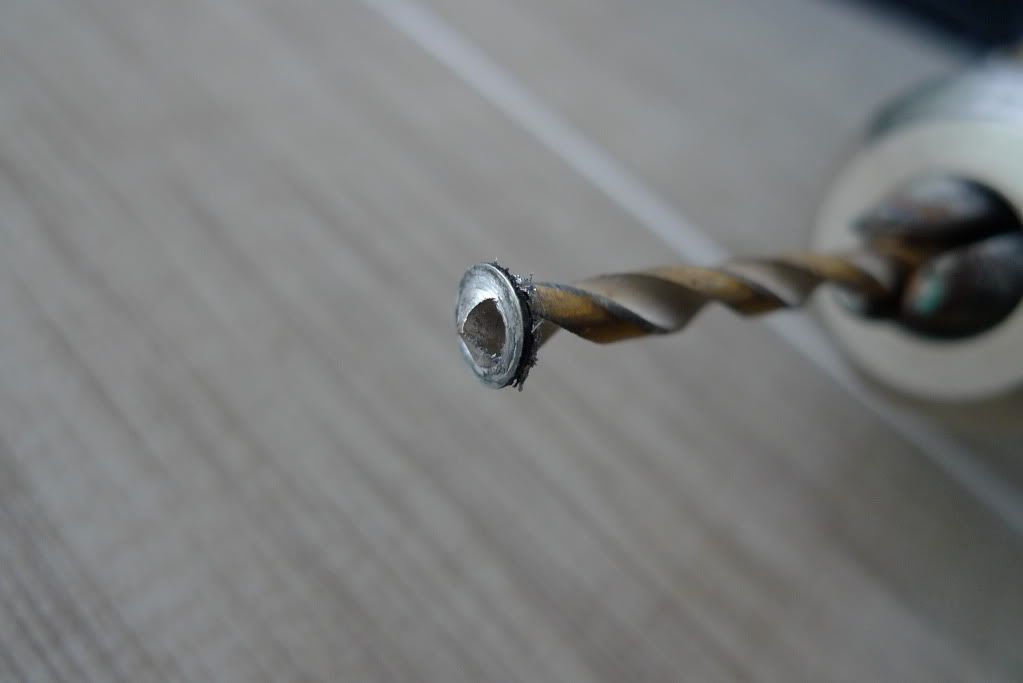 |
| This is a left over piece of part of the rivet on the drill bit after drilling through |
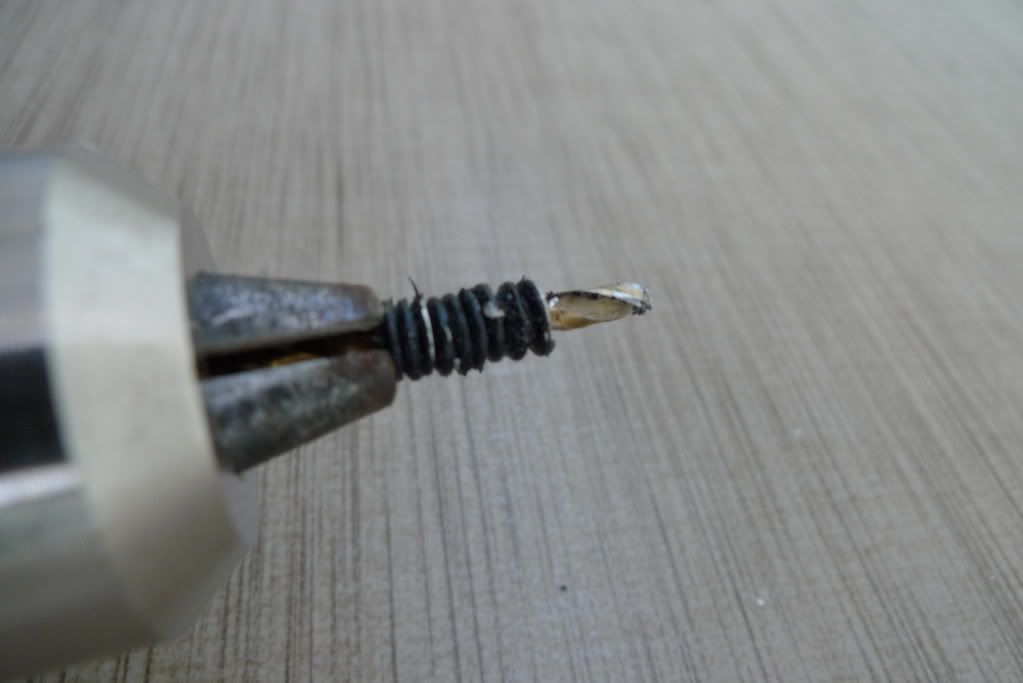 | |
| And this is what happens if you are too lazy (like me) to remove each individual piece after drilling |
 |
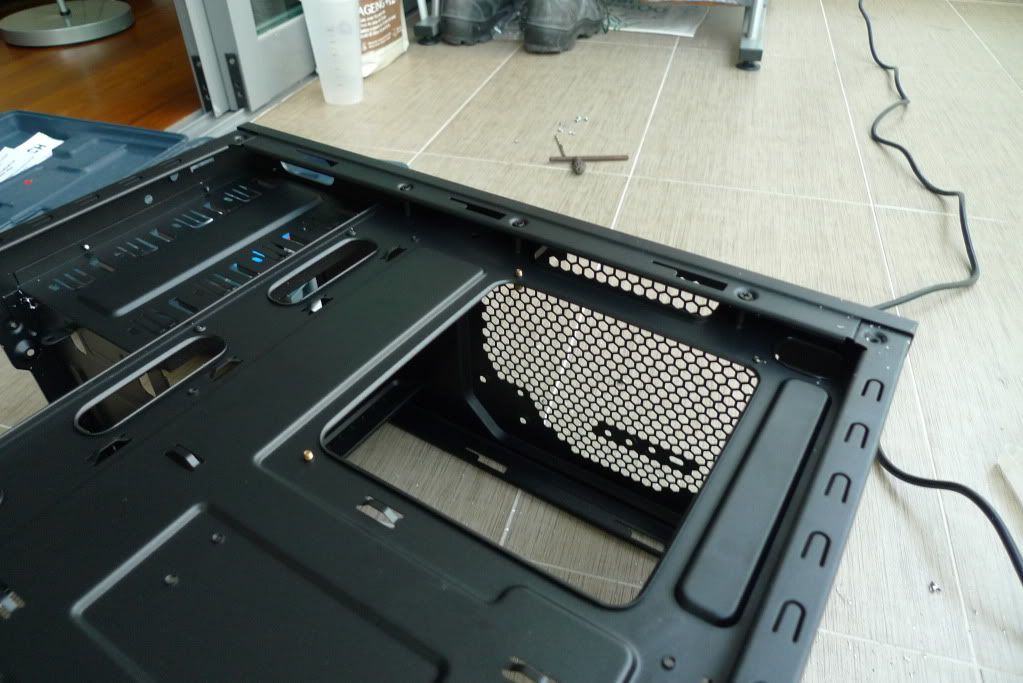
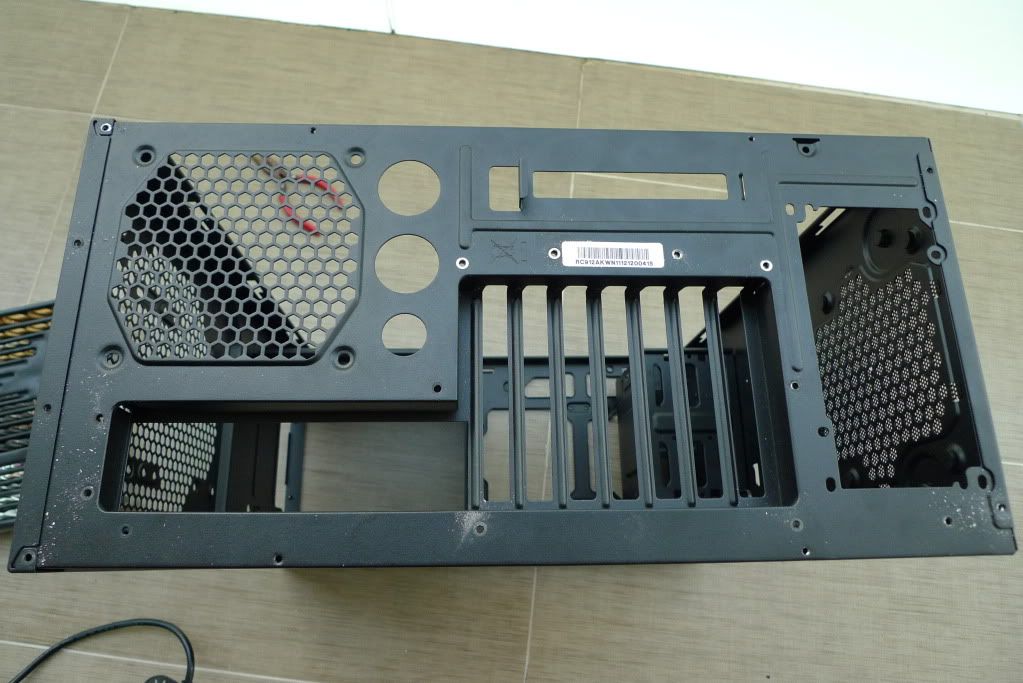
| Some screws that I missed out. This is on the front panel which holds the 2.5" HDD cage |
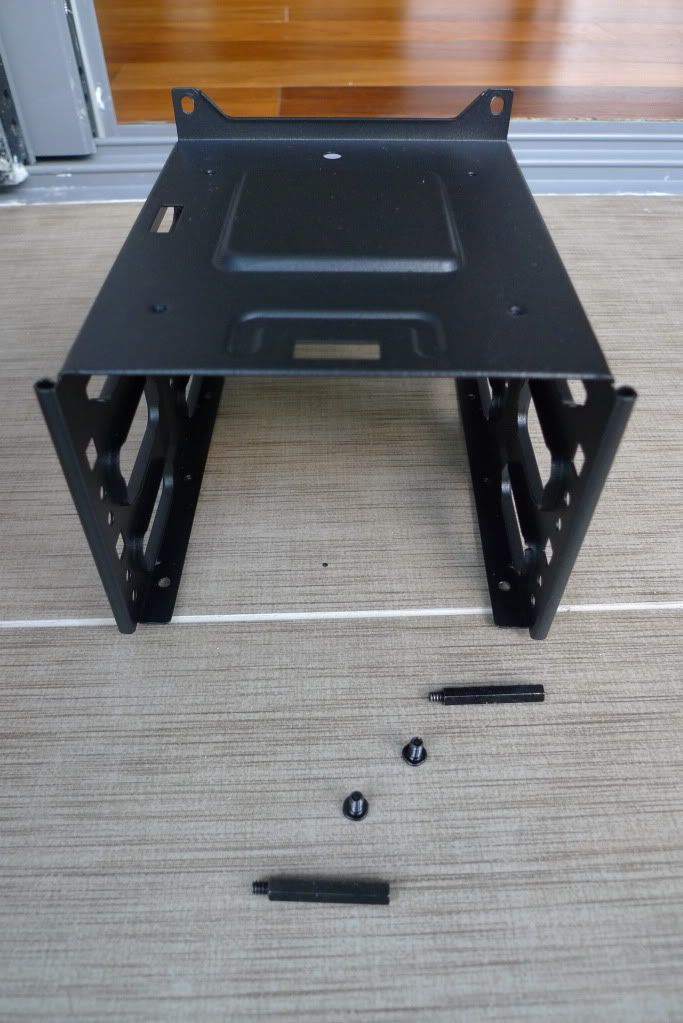 |
| First part to be removed, the 2.5" HDD cage |
 |
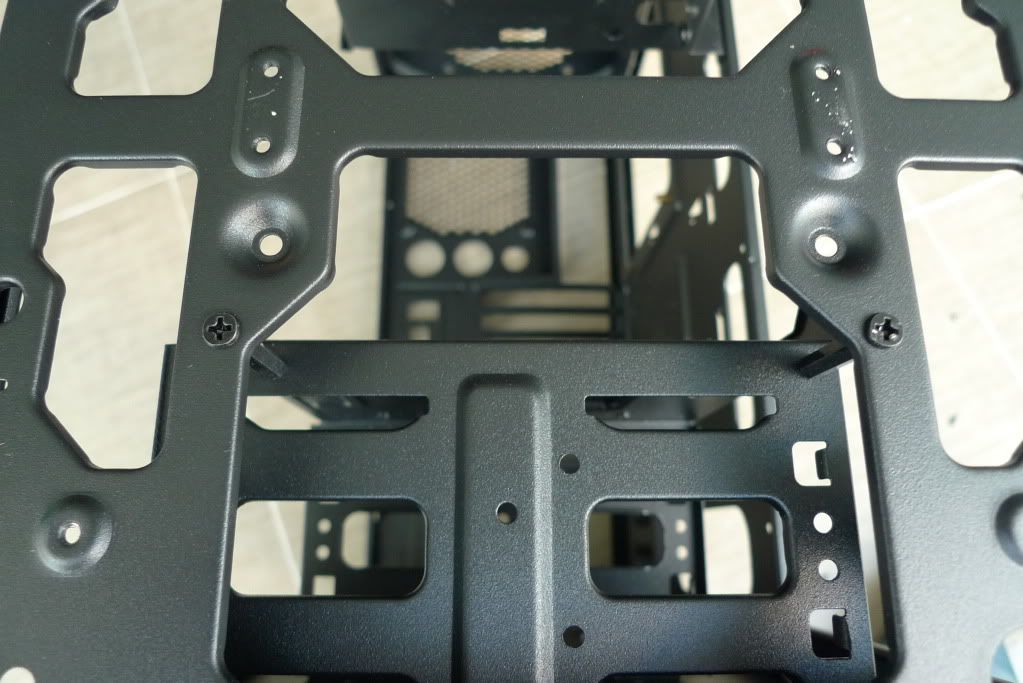
| There are 3 screws holding the motherboard tray to the case |
 |
| Removed all the rivets from the back panel |
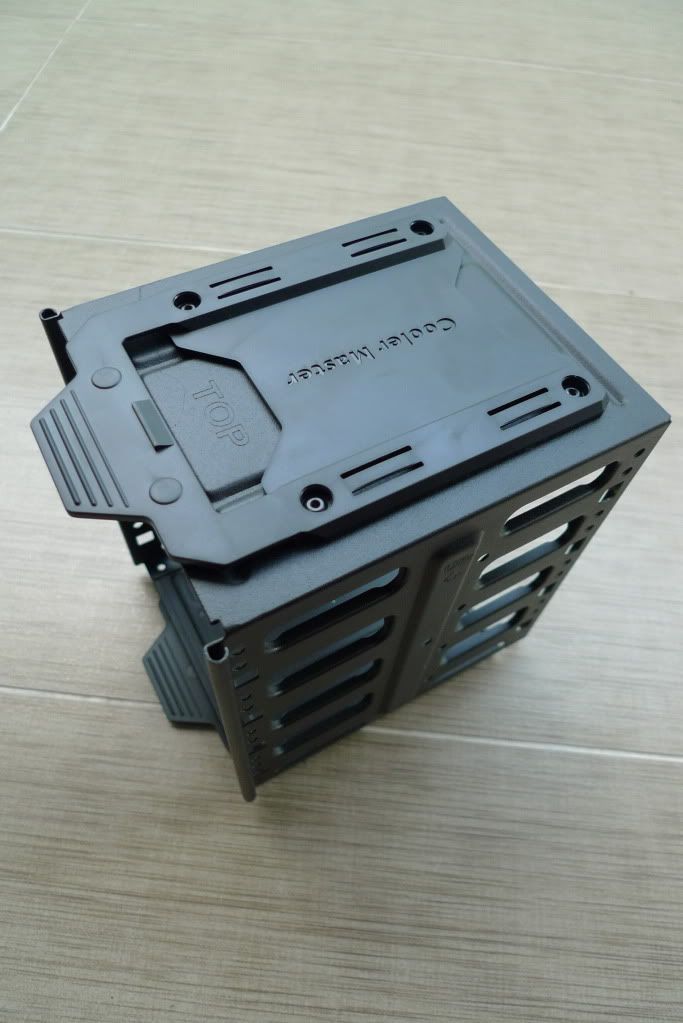 |
| Plastic holders for the 3.5" HDD cage is held down by rivets too |
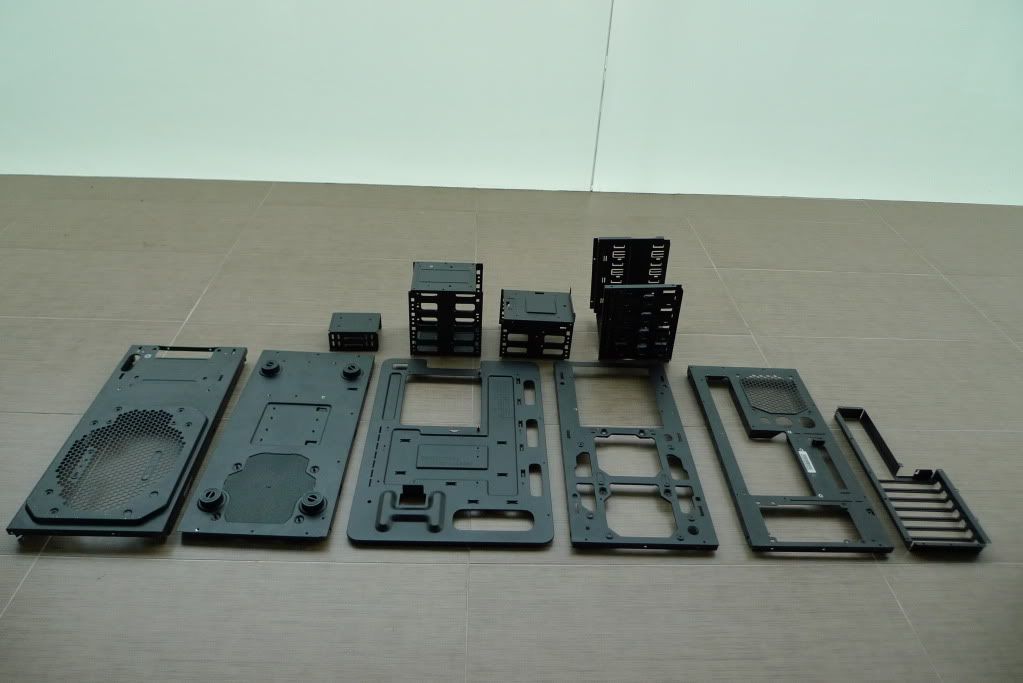 |
| With all the rivets removed. Each individual part separated. |
 |
| Aftermath of all that drilling! |
Now that I'm done separating the case, next is to come up with the design for the case and buy the necessary parts!
No comments:
Post a Comment