Tuesday, 3 July 2012

HAF 912 Advanced Front panel painted

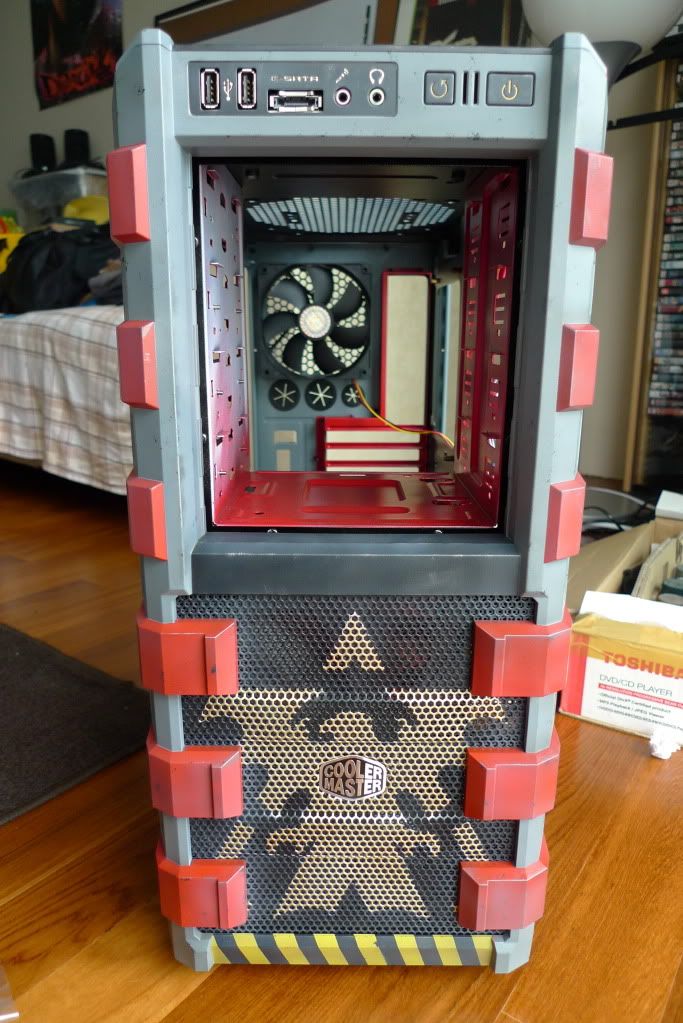
Done with the front panel. Done with painting and weathering. Weathering consisted of paint chipping with a sponge, drybrushing the edges with silver and then spraying a thin layer of gray over everything to blend them together. Let the pictures speak for itself.

Front view. The trick is to spray a thin layer of the base color over everything so that the bright colors do not stand out too much.
Definitely looks much nicer than the stock black design.

Hopefully this will inspire you to paint your PC case too! Since you're probably gonna put it on your desktop and see it quite often, might as well enhance the exterior.

Interior Painted

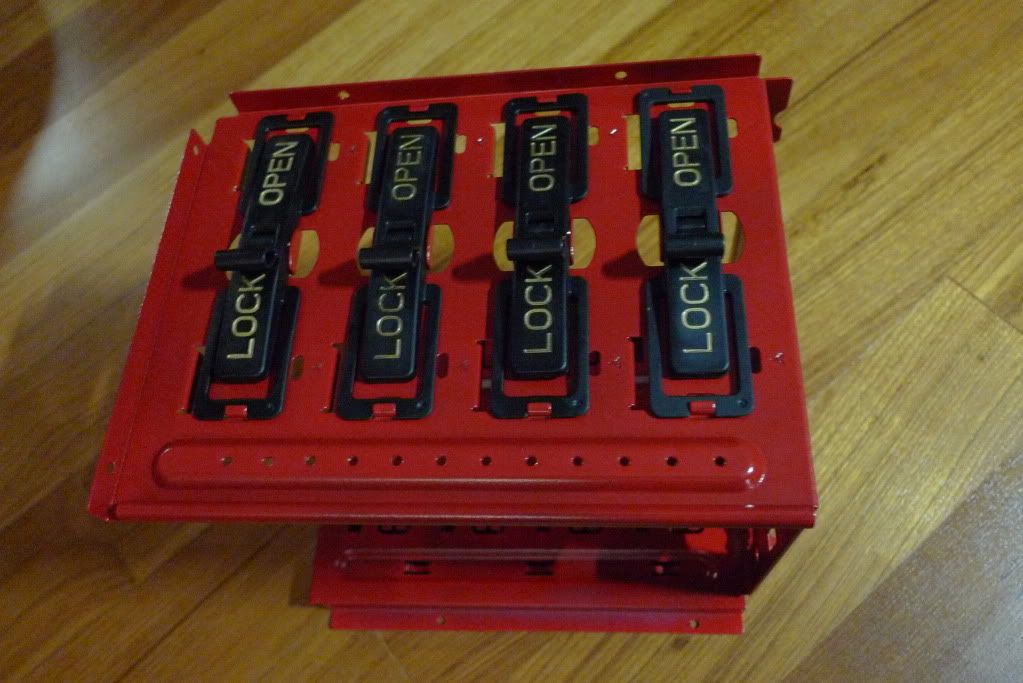
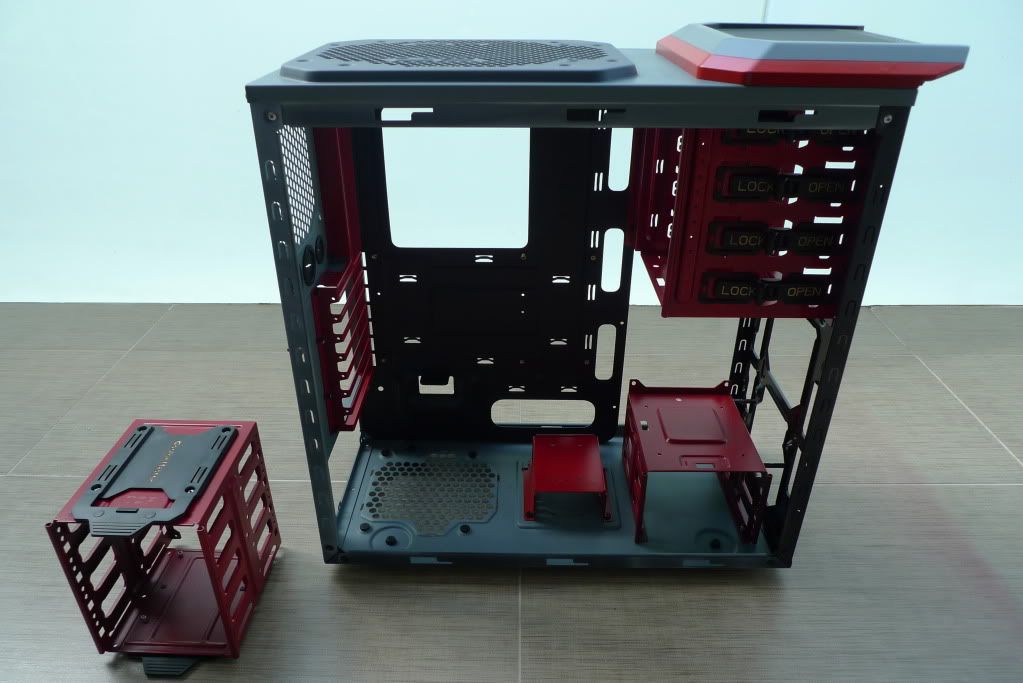
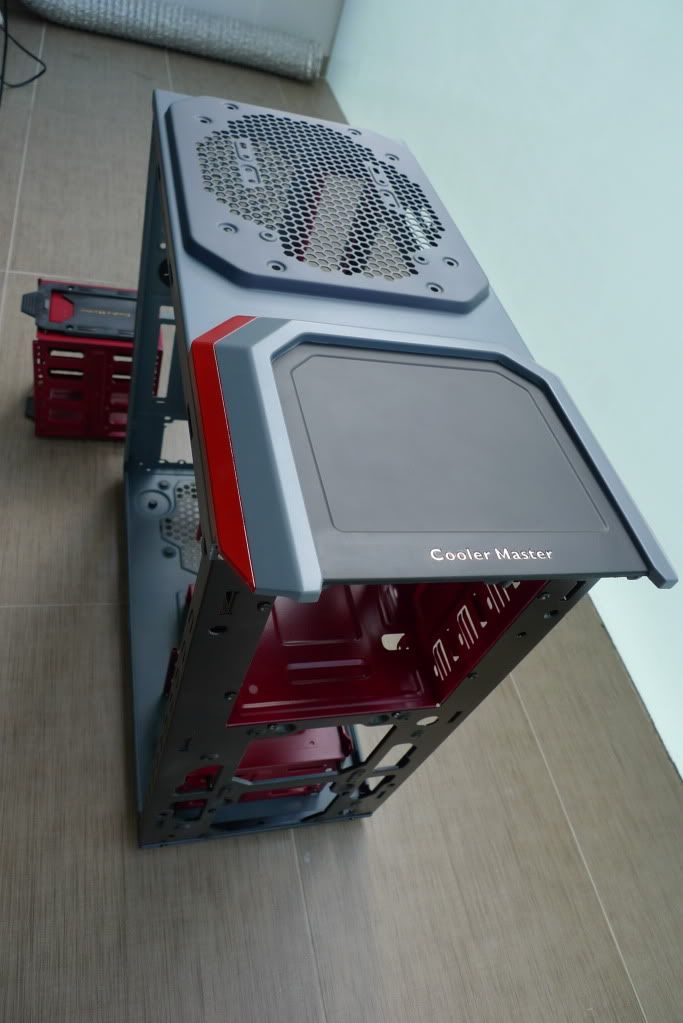
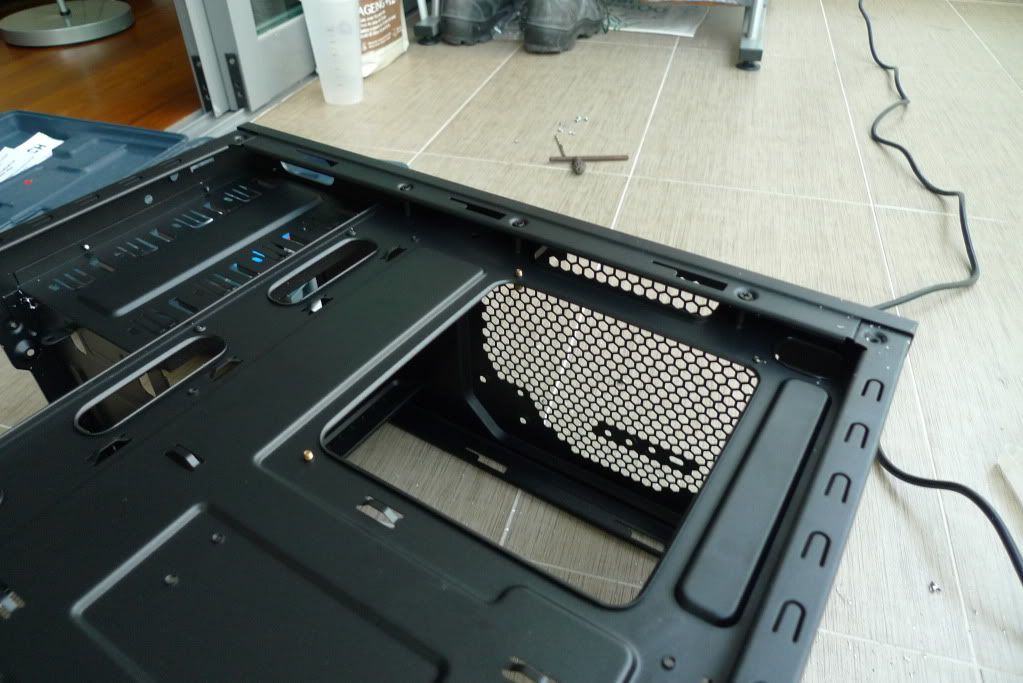
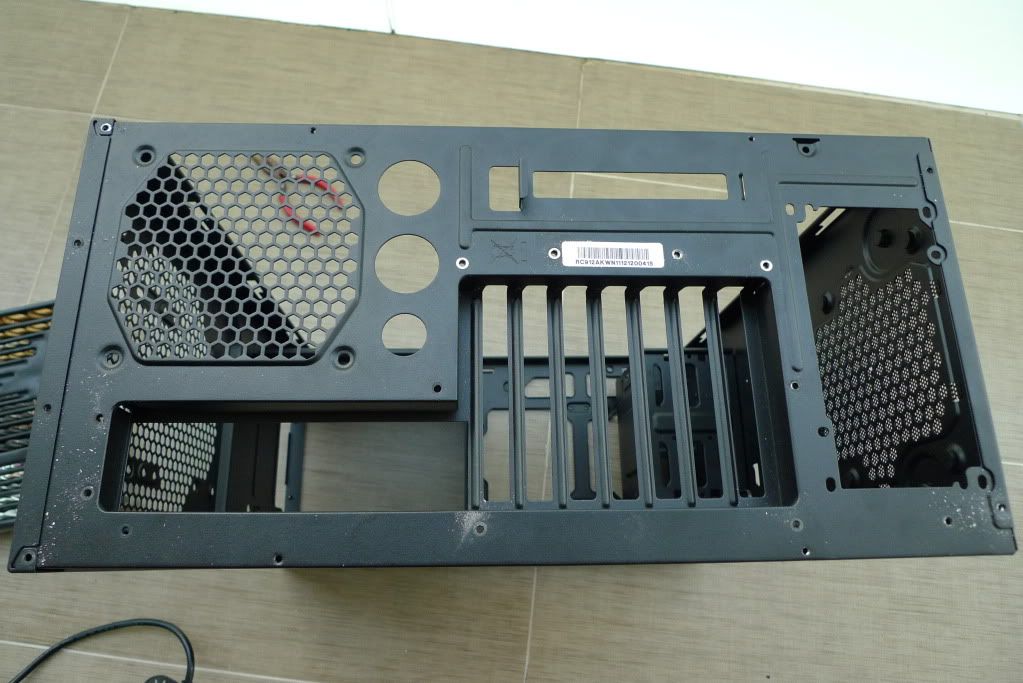
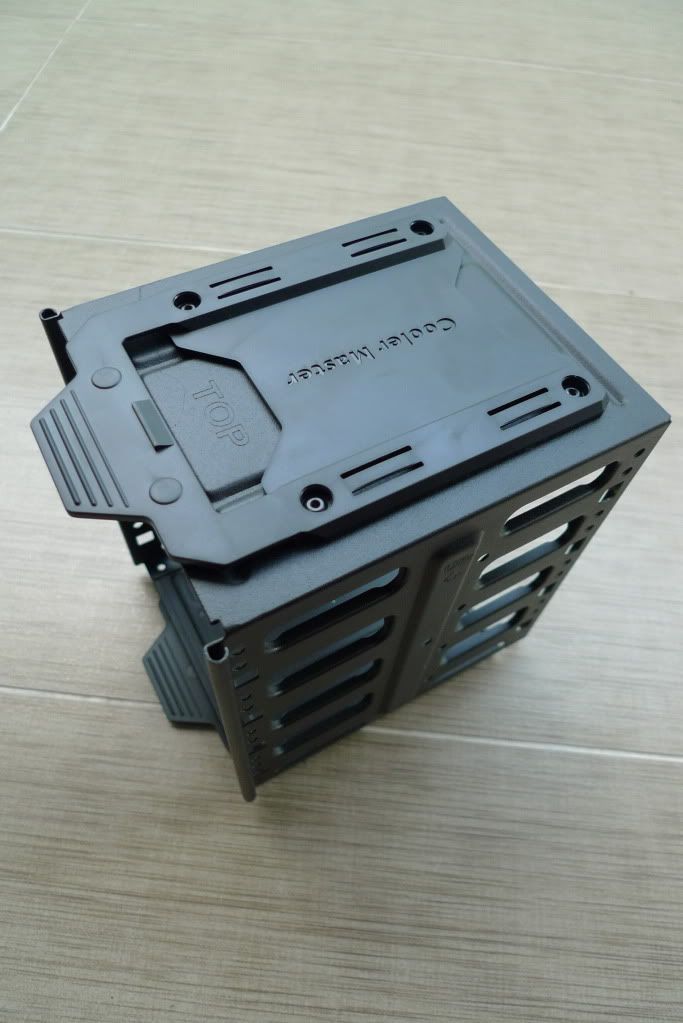
Done with painting the interior and assembled it back together. Can finally start putting the PC together instead of letting the components collect dust since the outer panels can be painted and then mounted.

5.25" Bay done
Assembled the parts back together
View from the top


That's about it for this update.

Saturday, 30 June 2012

Painting the fan mesh

Fan mesh by themselves are boring as well! Wouldn't it be nice if we could paint on some designs to hype it up? The logo that I decided to paint on the front mesh is none other than..............*drum rolls*............the SC2 terran logo!

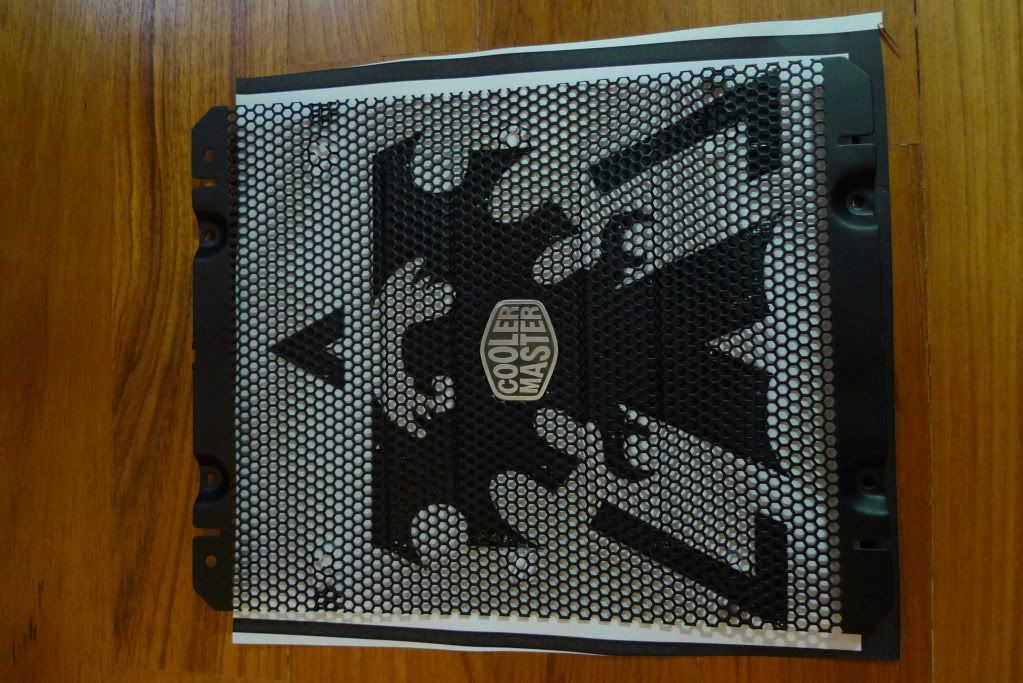
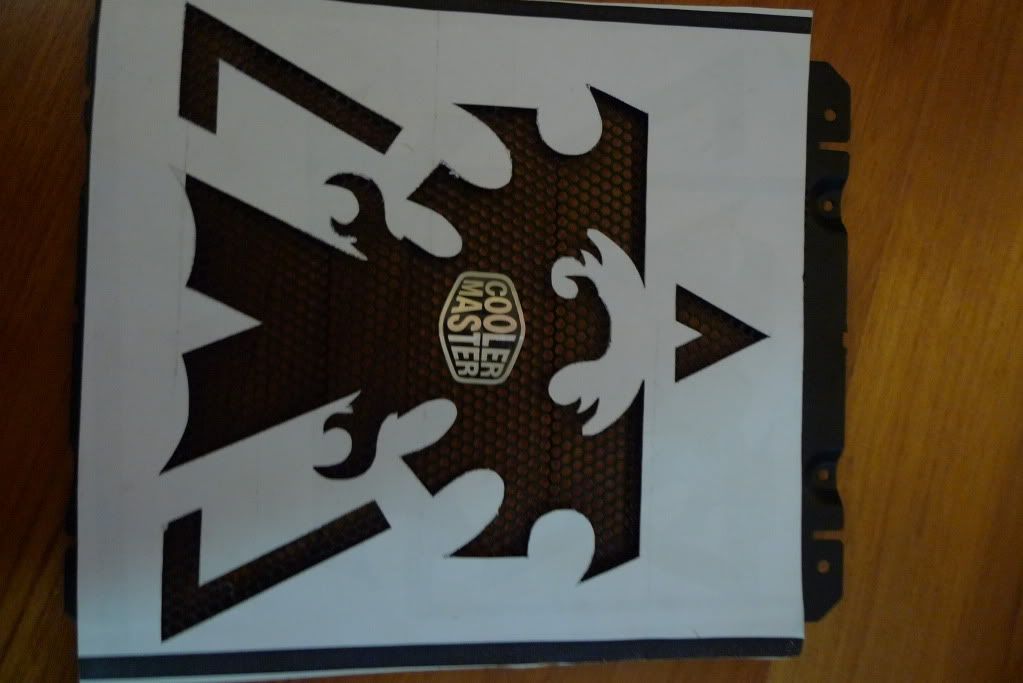
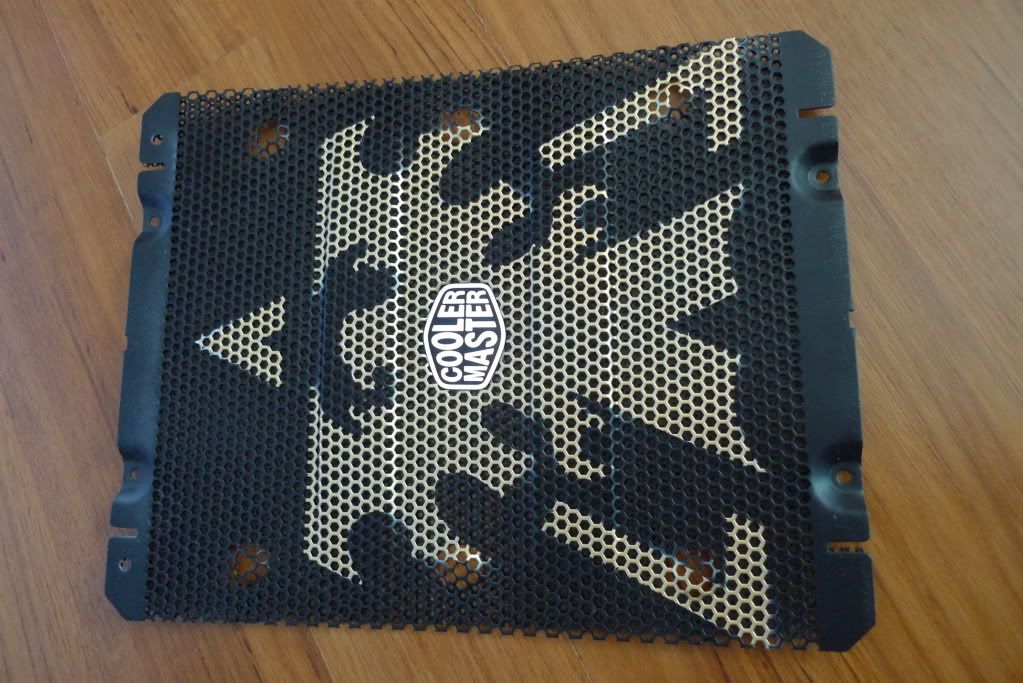
Painting for the mesh is rather easy. Print out your design, cut out the design, paste in on the mesh and just spray on. Easy as 1, 2, 3!


Here is the front mesh. Terran logo printed out on paper behind.
Here, I have used a knife to cut out the logo. Then, I put double sided tape underneath to mount in on the mesh.
There! After you spray remove the paper and this is what you have!


Hope you liked it!

Thursday, 28 June 2012

Detailing in Gold

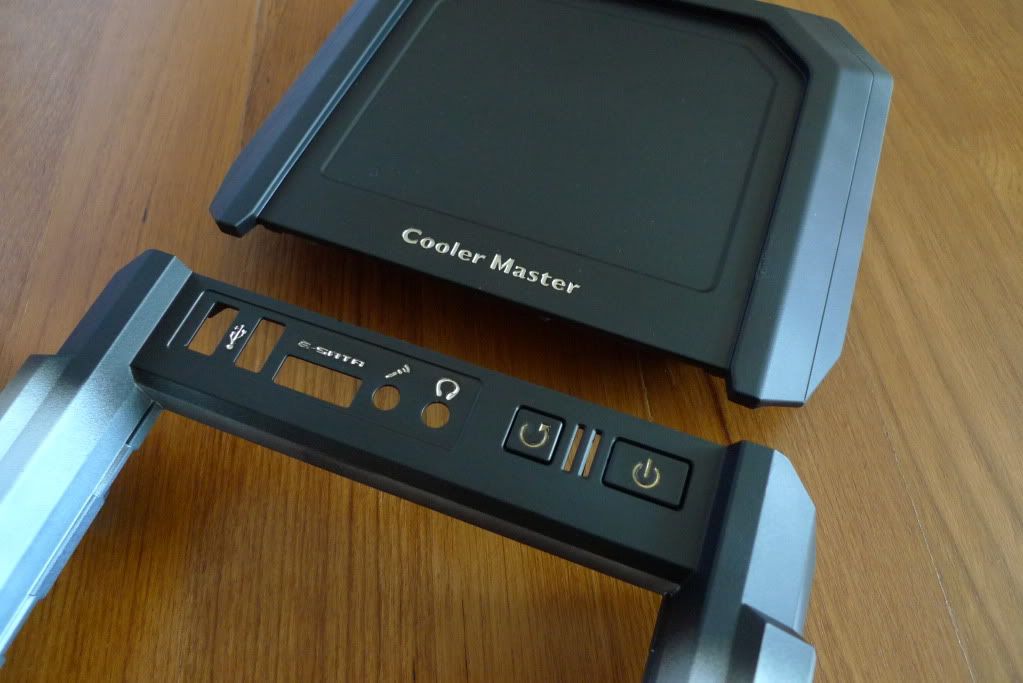
For the case, there are some words and symbols etched onto the panels. However, since the panel is totally black, this tends to be a little boring. Instead why not add some "bling" to these words and paint it gold to achieve and awesome gold on black effect!

These are the parts that I intend to add some gold paint to


So how do you achieve these awesome gold wordings without making a mess? (not everyone has steady hands) Here, I will list on a few methods that may work but they may not be full proof.


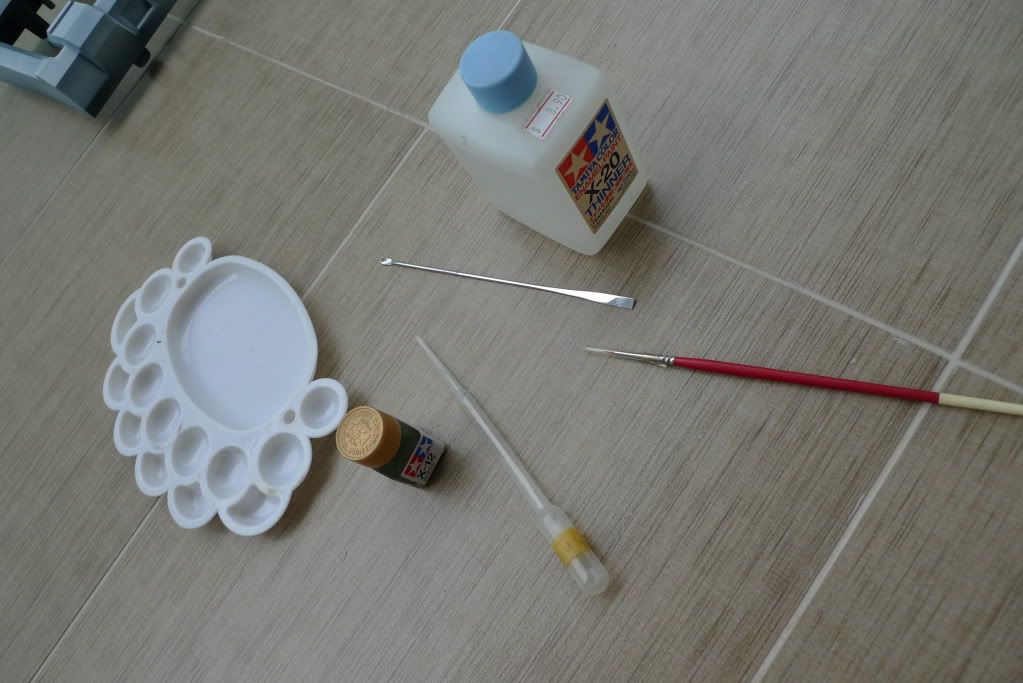
Here are the tools involved. I use Tamiya Goldleaf Enamel Paint + Thinner
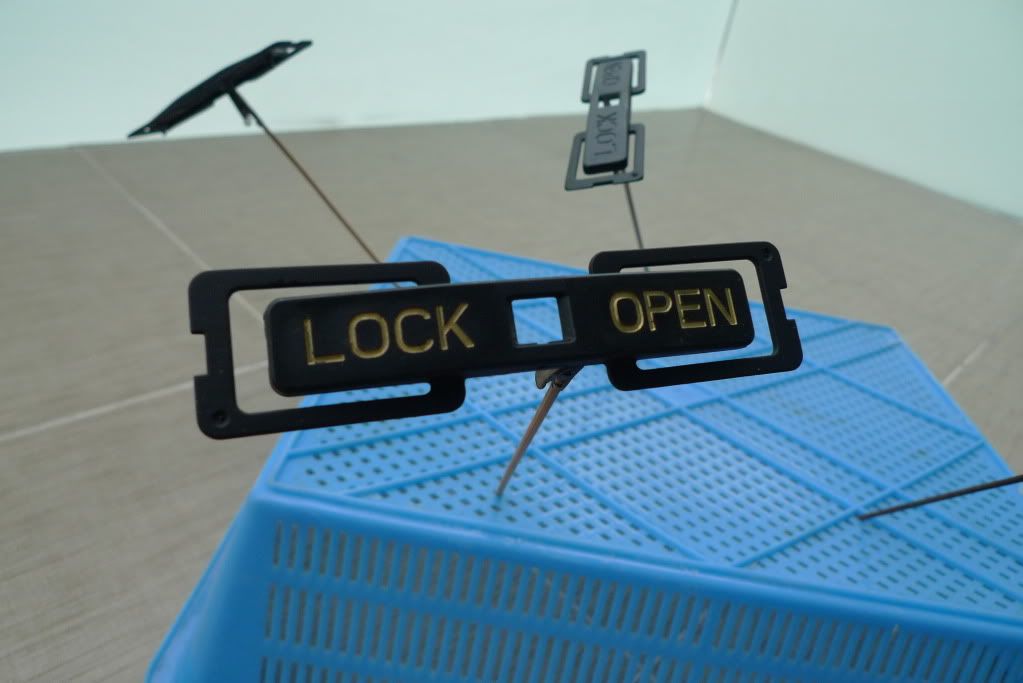
So the first method goes something like this. You start by painting the case with a certain type of paint. However, for the gold wordings, you will use a separate type of paint (e.g. acrylic, enamel, laquer) Hence, after painting, you can use the enamel thinner to wipe off mistakes without affecting the bottom coat of paint. You can also paint a flat coat of gloss to protect the bottom coat of paint. However, this did not totally work for me since I tend to always remove the bottom coat of paint when trying to clean up. It worked for certain parts though.


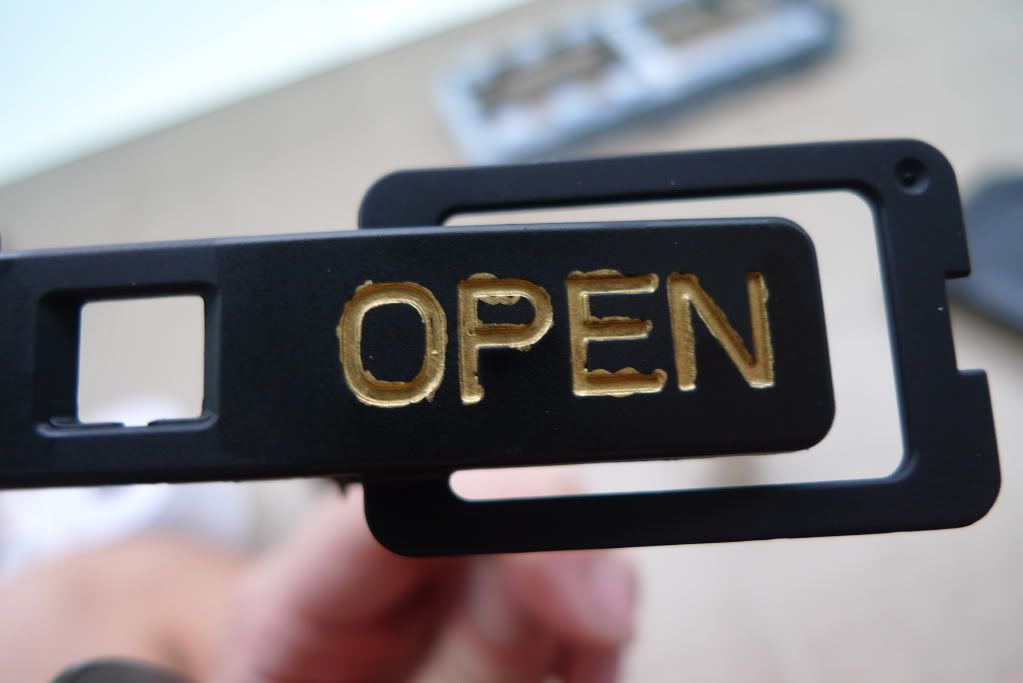
So here is one of the gold wording when I'm done. OF COURSE IT"S NOT PERFECT! I'm human! :p

After wiping off the excess gold paint. Not too shabby as long as you don't view it under a microscope


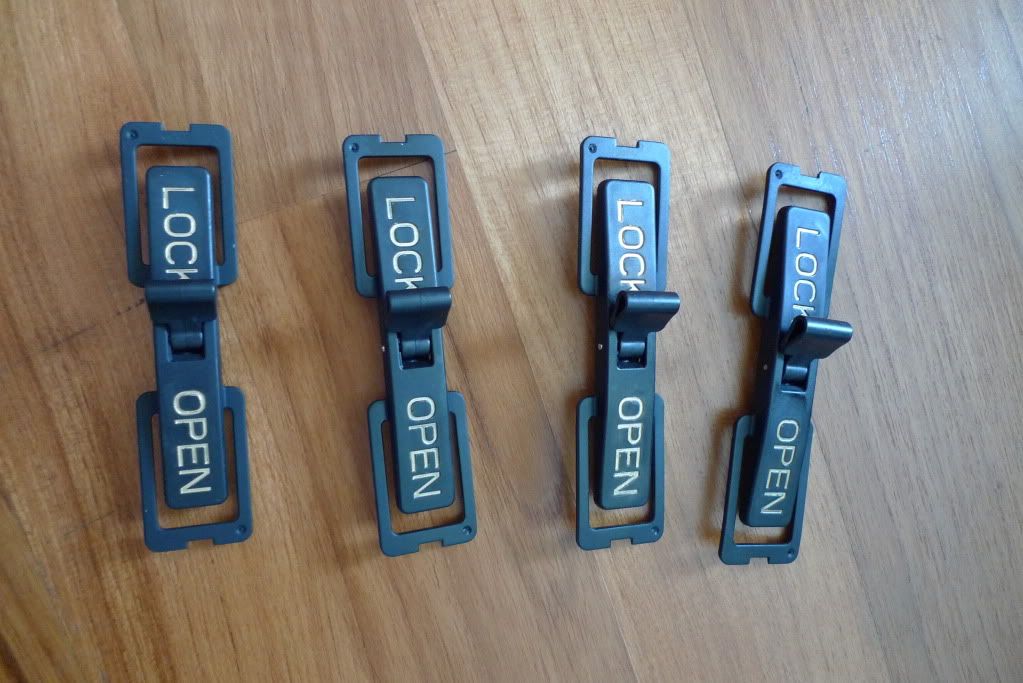
All the tooless 5.25" clips done! Definitely adds some life to it!

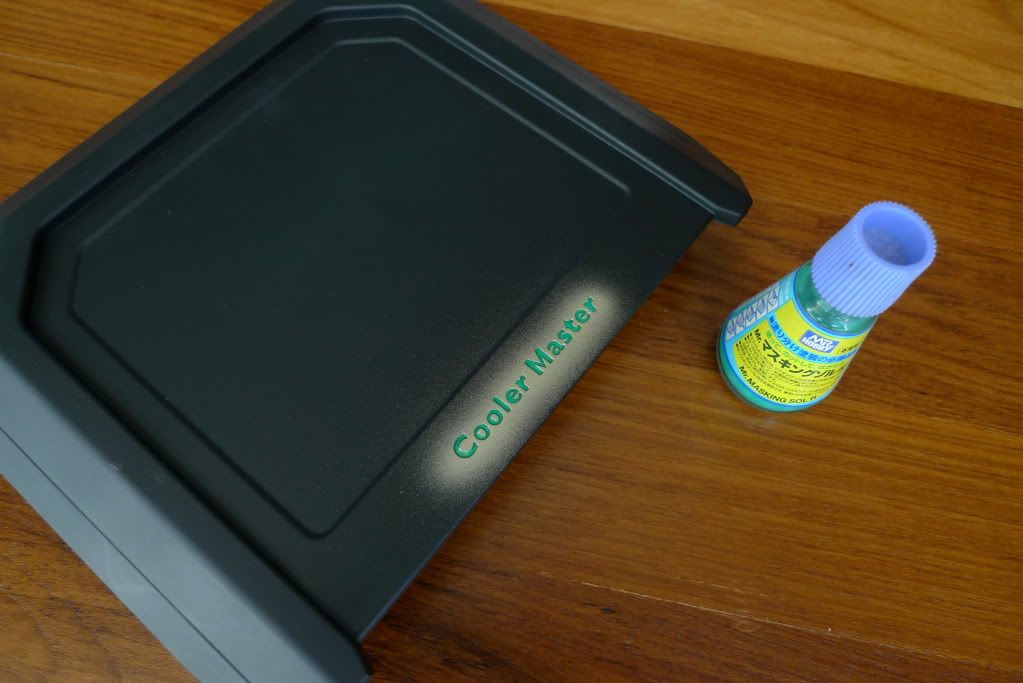
The second method of trying to achieve the gold wordings is to spray a layer of gold first. Mask out the words and then spray your base coat (black in our case) on. How do you mask the words you say? Well, there is a liquid mask out there for scale modellers.

Is this better than the above method? Nope. It has its flaws too. Most importantly, it will almost be impossible to get a clean mask. Hence in the end, Ill touch up the imperfections with a brush and black paint. After cleaning up, it will look nice enough as long as you don't scrutinize it. Furthermore, after weathering the panel, the flaws probably won't be visible.

Here, you can see I have 1) Sprayed gold 2) Applied the liquid mask.
(Product on the right)

Here is after the cleaning up. Definitely better than the stock version!

That's about it. In this post, I highlighted a way that bring life to the boring words on your stock PC casing. However, a warning for you, if this is your first time working with enamel or brush painting..........you're gonna have a bad time! But don't let that discourage you! Go forth and try it out!

Thursday, 31 May 2012

Disassembling case - Removing rivets

Since I removed the parts held down by screws, the next step would be to remove the rivets. This is important if you want to paint the insides or separate the panels for easier painting.

By default, the 912 advance comes with the insides painted black.

Less talk and more pictures!

Start state. The case with most screws removed.

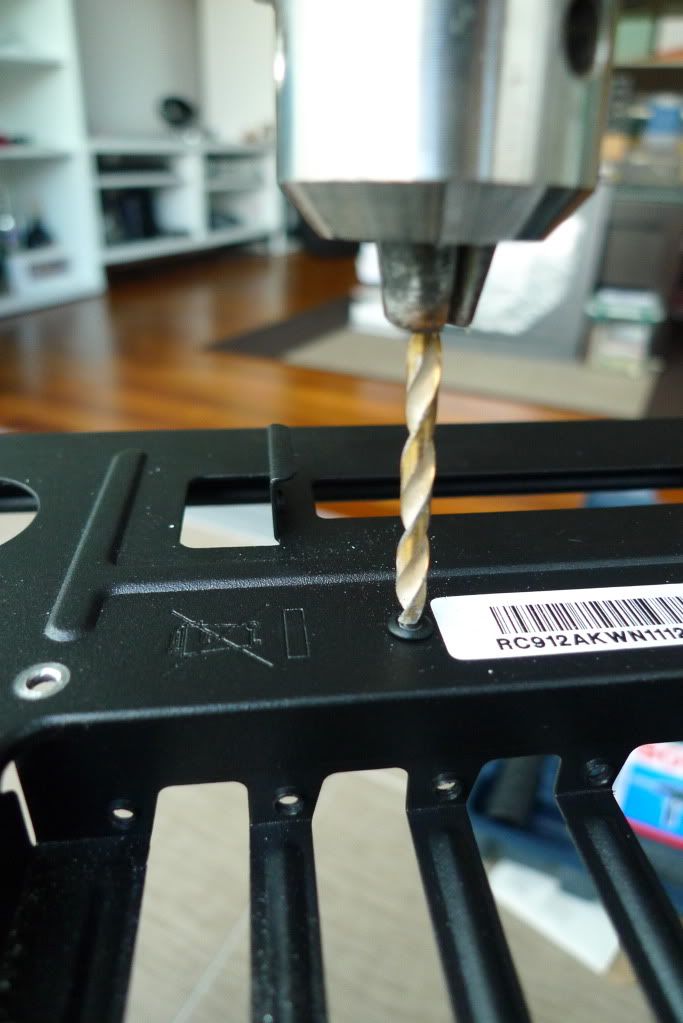
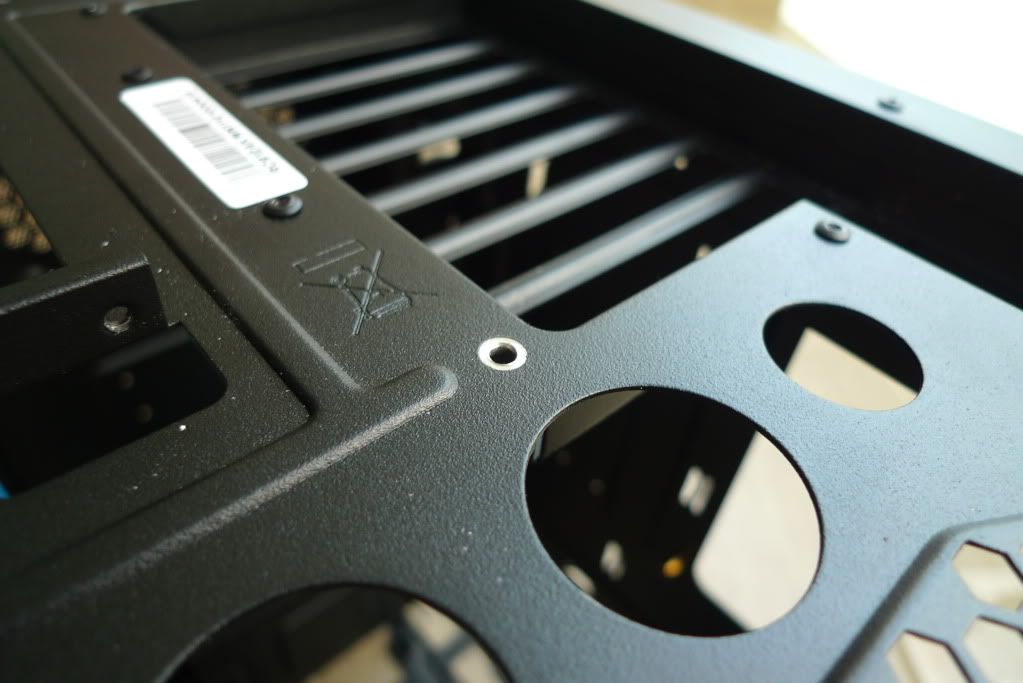
Drilling the rivet

 Removing the rivet is pretty straight forward. I use a 3mm drill bit and just drill into the rivet. After drilling for a while, your drill bit should fall through the hole and the rivet would have dropped out.


After removing the rivet

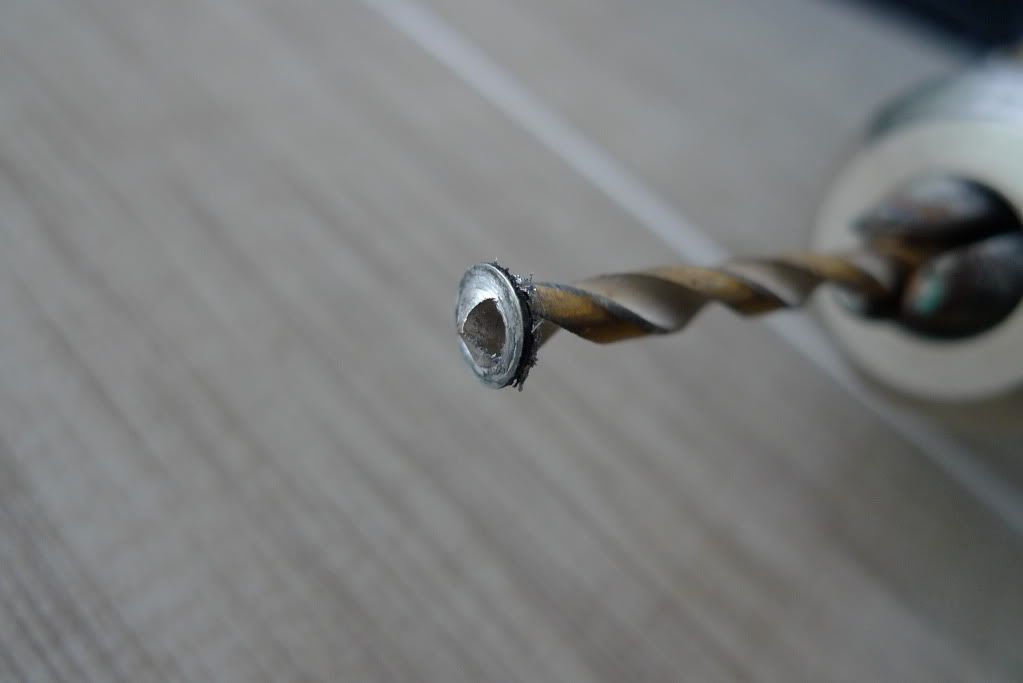
This is a left over piece of part of the rivet on the drill bit after drilling through

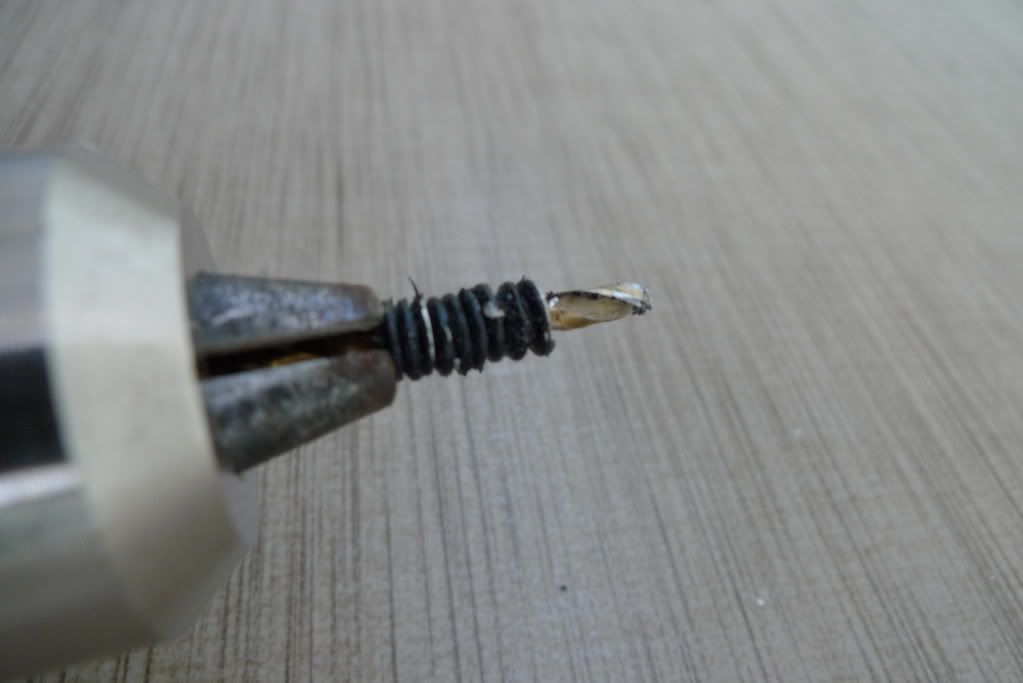
And this is what happens if you are too lazy (like me) to remove each individual piece after drilling
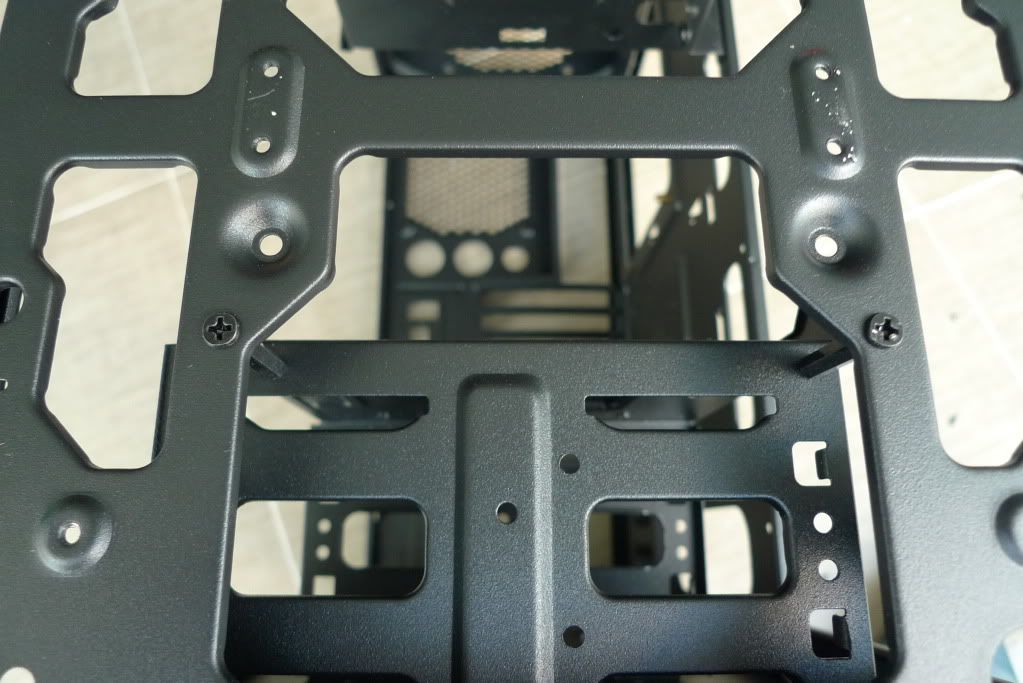
Some screws that I missed out. This is on the front panel which holds the 2.5" HDD cage

First part to be removed, the 2.5" HDD cage

There are 3 screws holding the motherboard tray to the case
Removed all the rivets from the back panel

Plastic holders for the 3.5" HDD cage is held down by rivets too

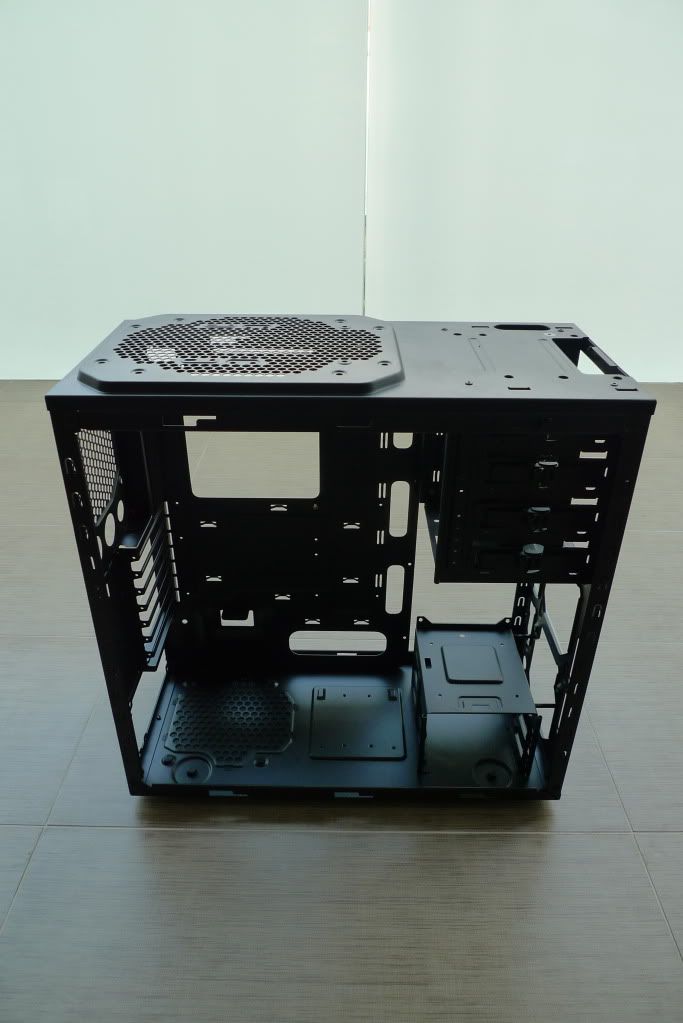
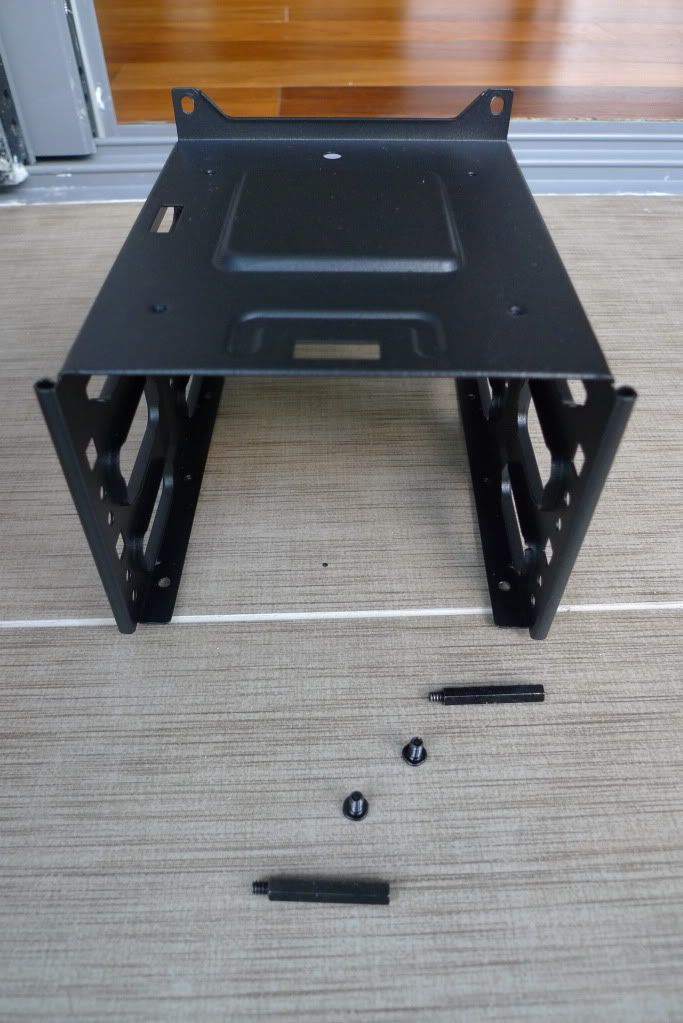
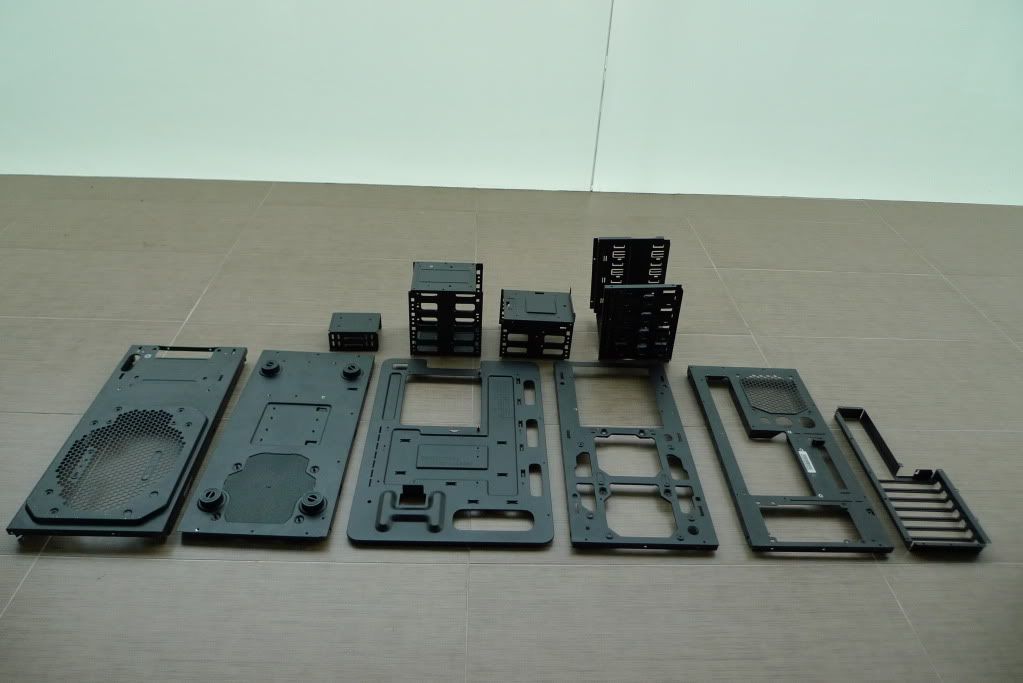
With all the rivets removed. Each individual part separated.

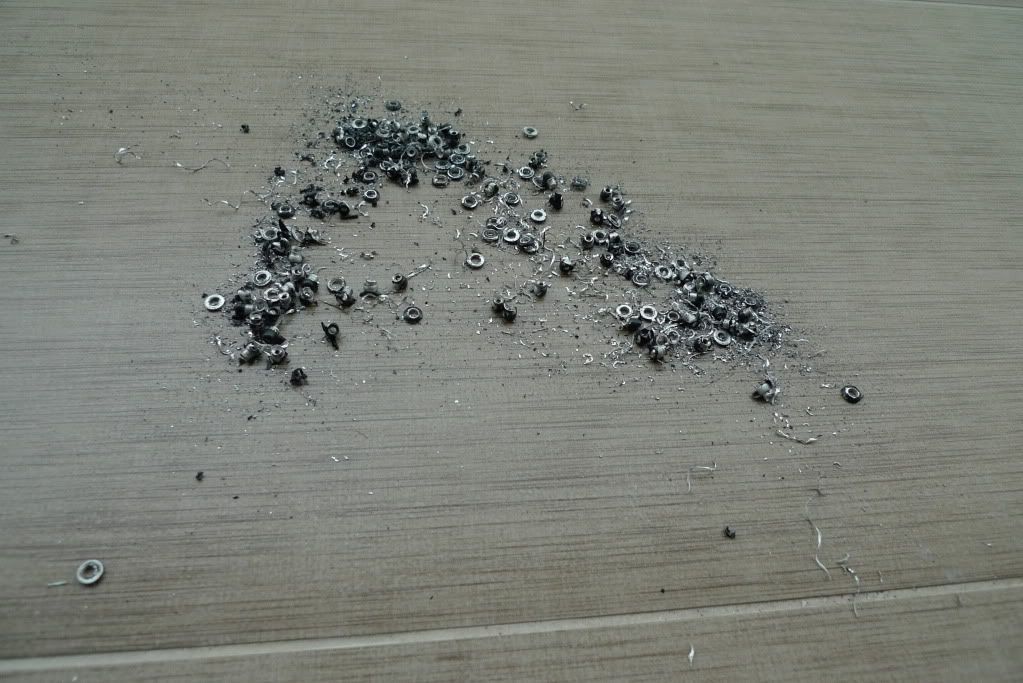
Aftermath of all that drilling!

Now that I'm done separating the case, next is to come up with the design for the case and buy the necessary parts!


Tuesday, 29 May 2012

HAF 912 Advanced Case "Mod"

So I recently decided to build my own PC and decided on the Coolermaster HAF 912 Advanced edition as the price was rather affordable and aesthetically wise, I found it rather pleasing (NOT everyone likes the HAF looks). Furthermore, the side window is a must for me to gawk at the hardware which wiped out one month of my pay! 


HAF 912 Advanced Edition

Despite the nice basic design, it felt a little boring and the fact that this is quite a common case around compelled me to think of ways to spice up the looks of the case and make it stand out.

As with my first time building a PC, it will also be my first time "modding" the case. (I'm not exactly modding the case but just painting and add sheets of plastic)

Regarding the design, I'm going with a Starcraft 2 Terran theme as that is the race I play. (Starcraft 2 is practically the only game I play as well)

Hence, to kick off the long and arduous process of painting the case, I started with disassembling whatever I could with a screwdriver.
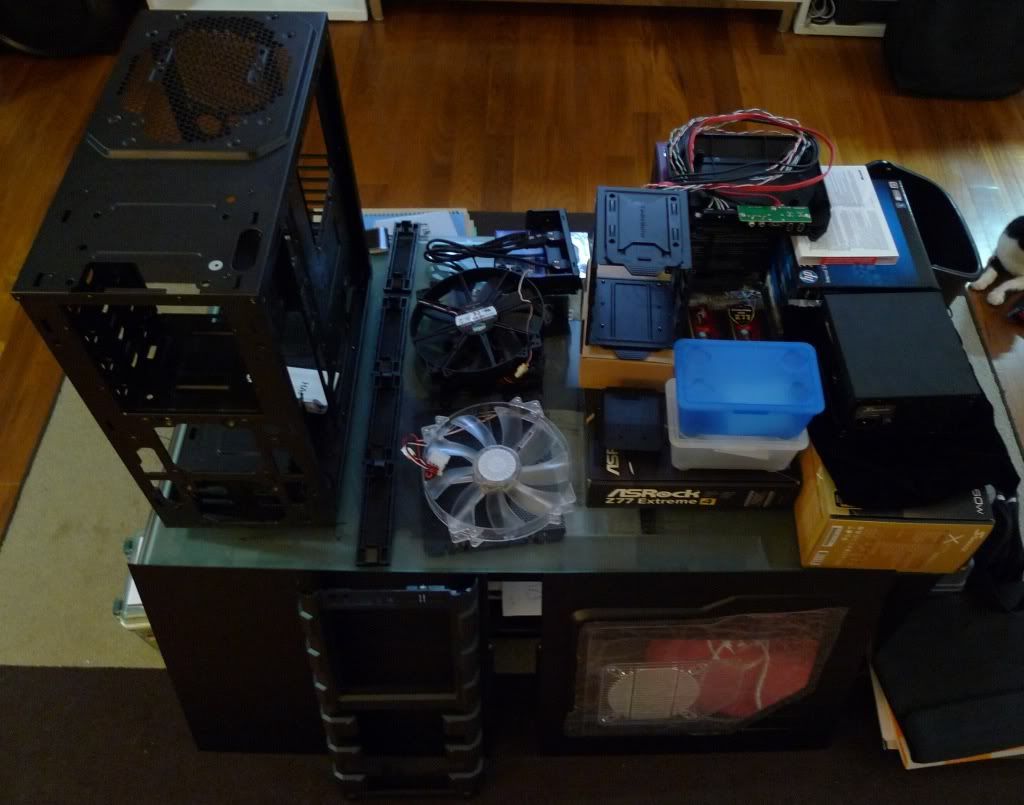


Removing all the parts that I can with a screwdriver

Parts that I removed with a screwdriver (in chronological order)
- Left panel
- Right panel
- 5.25" drive bay cover (mine came with the USB 3.0 slot attached. You need to unscrew two screws at the side and use a little force to pull it out) (Drive bay cover has no screws)
- Front panel
- Front fan
- Top fan
- Back fan
- 2.5" HDD bay
- 3.5" HDD bay
- Top panel (the part that houses the power, reset buttons and the USB slots. The top panel has no screws. Just clips like the front panel)

 To disassemble the case further to remove the top panel or back panel and the 5.25" drive dock, would require me to remove the rivets holding them in place. Unlike the screws, removing the rivets requires more work and assembly would be troublesome as well.

 In the next post, I will remove the rivets to isolate the parts of the case that I want to paint.